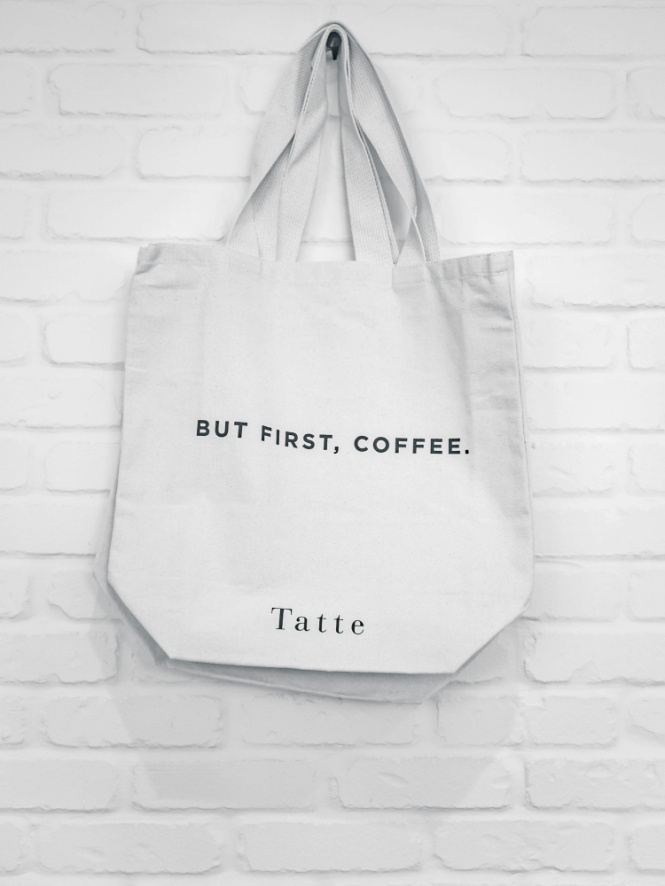
Of all the substrates that come through a commercial embroidery shop, heavy cotton canvas is one of the most stubborn. It doesn’t stretch like knit, doesn’t lie flat like poplin, and it resists hooping in a way that can cause registration to shift mid-run. I’ve seen canvas tote bags and promotional bags come through a production run looking fine on the first few pieces, then gradually drift off-center by the end. That drift, more often than not, comes back to how the bag was set up in the hoop, not the file. Tips for hooping canvas correctly make all the difference — once the method is down, it holds consistently even on dense fill designs. This is also relevant when clients order custom hat logo setup work at the same time: a consistent registration standard carries across substrates.
Why Canvas Shifts
Canvas is a tightly woven, thick material. When you clamp it in a hoop, the outer ring doesn’t compress the fabric the way it does with thinner materials. Instead, you get surface contact without real grip. On dense stitching — especially fill areas over 5,000 stitches — the needle’s repeated penetration creates lateral force that pushes the fabric incrementally outward from the design center.
The problem is worse on tote bags because the bag body itself adds weight and bulk outside the hoop. That hanging weight creates downward tension on the hooped area, which contributes to the shift.
Selecting Proper Stabilizers for Heavy Wovens
The right stabilizer for canvas is a cut-away with a medium weight, around 2.5 ounces as a good baseline. Some shops try tear-away because it is faster to remove, but tear-away does not lock heavy canvas firmly enough during a dense run. Doubling up on stabilizer is the best approach for bags over 10-ounce canvas weight.
Two layers of medium cut-away provide enough rigidity that the fabric essentially becomes a single locked unit in the hoop frame. The final stitch quality is noticeably more consistent than with a single layer of backing.
Correct Hooping Techniques for Tote Bags
For standard tote bags, you should hoop just the front panel instead of looping the handles through or trying to hoop the full bag structure. Fold the back panel of the bag away from the hoop frame and secure it with clips or masking tape. This step completely eliminates the hanging weight problem that pulls the fabric out of alignment.
When hooping the material, pull the canvas taut across the inner ring before setting the outer ring down. The canvas should feel firm across the surface, but not over-stretched like a drum head. Overtightening distorts the weave and can cause the fabric to warp under the hoop. After clamping, press the back of the hoop against a flat surface to confirm the fabric is seated evenly against the inner ring all the way around before loading it onto the machine.
When the File Supports the Setup
Good hooping technique is only half of it. Files built with appropriate pull compensation for heavy woven fabrics perform better across the whole run. If you’re working with a provider that can also vectorize image for embroidery and handle logo vectorizing services when the original art isn’t clean, you save setup time before the run starts. The same applies when vector art for screen printing comes in from a client — having a service that handles both vector and embroidery file prep keeps production moving. Contact us at Affordable Digitizing — we work with embroiderers on files built for real production conditions.