

Pique polo shirts are a staple of corporate embroidery, but the textured knit surface presents specific challenges that are easy to overlook until you’re already getting skipped stitches or snagged fabric. Polo shirt embroidery tips that account for fabric structure — not just thread and design settings — make the difference between a clean left chest logo and a run full of rejects. Most of the polo-specific problems on the production floor trace back to needle selection. The most common mistake is running a sharp point needle on a knit fabric when a ballpoint is required. This mechanical choice matters immensely during production, especially when executing dense digitizing for left chest logos where the design sits directly on the textured weave.
Understanding Pique Knit Structure
Pique is a double-knit fabric. It has a raised, textured surface — those small squares or honeycomb cells — created by alternating knit and purl loops. Unlike a plain jersey knit, the fabric’s surface is uneven. When a sharp needle penetrates pique, it can enter between loops cleanly on one stitch and split a yarn on the next, depending on exactly where the needle lands.
Splitting yarn causes pulled loops — a problem that shows up as fiber damage or surface snagging on the shirt. It’s more common on lighter pique (around 180 to 200 gsm) where the loops are less tight and more vulnerable.
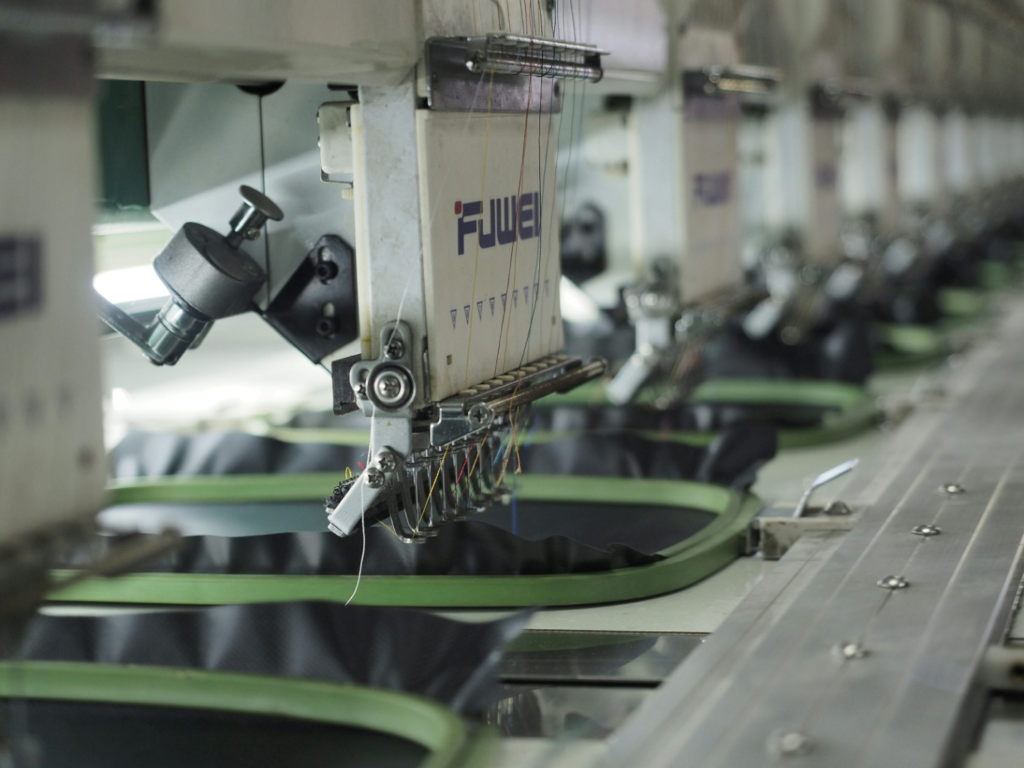
Ballpoint vs. Sharp
A ballpoint needle features a slightly rounded tip designed to slide between fabric loops rather than piercing directly through the fibers. On pique and other knit structures, using a ballpoint is the correct starting point for production. While a standard sharp needle works efficiently on tight-weave wovens, the penetration pattern on an uneven pique knit is unpredictable and risky.
Standard practice for a pique job involves loading a size 75/11 ballpoint needle. For lightweight pique shirts, dropping to a smaller 70/10 needle reduces the footprint of the needle hole. For heavier or thicker performance pique materials, moving up to an 80/12 needle provides the strength needed to penetrate the fabric without bending, preventing deflection.
Adjusting for Thread Weight
Needle size must also match the specific thread weight being run on the machine head. Running standard 40-weight polyester thread through an oversized 80/12 needle increases the risk of thread breakage at the eye, especially on dense fill areas. Conversely, if a corporate logo calls for 60-weight thread to resolve fine lettering, a smaller needle must be used regardless of the fabric weight.
On multi-needle commercial machines, tracking which needle type is loaded on each specific needle bar is highly recommended. Keeping a simple note at the machine head prevents operators from defaulting to a sharp needle that was left over from a previous woven jacket run.
Checking for Skipped Stitches
Skipped stitches on pique fabrics almost always point to needle deflection. The needle hits a raised knit loop and bends slightly, causing the hook and the needle eye to fall out of sync. If consistent skips occur on a single head, the timing should be checked along with the physical condition of the needle point.
Needles in use for more than 4 to 5 hours on abrasive knit fabrics can develop microscopic burrs at the tip. These burrs slice through thread filaments and snag the pique loops, making a strict needle replacement schedule vital for high-volume corporate uniform orders.
Getting the File Right for Pique
The file matters as much as the needle. A design built for woven fabric may have density settings too high for pique knit, causing stitch layers to pack too tightly and work against the fabric’s stretch. When working with logo design for polo shirts files, proper underlay and density reduce the chance of puckering. Digitizing for left chest logos at standard 2.5 to 3 inch widths should have density calibrated for the fabric type, not just the design size. For clients sending images for conversion, having access to raster to vector conversion services as part of the prep process ensures clean art before file building begins. Contact us at Affordable Digitizing for vector prep and embroidery file production.