
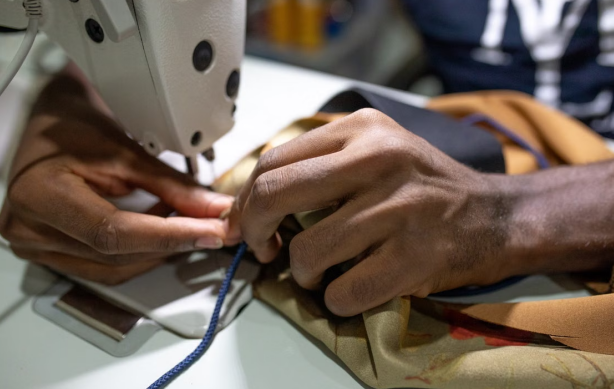
Fixing embroidery thread nesting under the needle plate usually starts with checking bobbin tension before blaming the thread itself, and a messy tangle there can turn a five-minute setup run into a lost hour.
We catch this most often on the first run of the day, right after a bobbin change or a color swap, which is exactly why our team checks it on every job that comes through our order page before running a full batch.
Start With the Bobbin, Not the Top Thread
Loose bobbin tension is the most common reason thread piles up underneath the needle plate, since it lets extra thread unwind with nowhere to go but into a tangled knot. We turn the tension screw on the bobbin case clockwise in small quarter-turn steps until the resistance feels even, then run a test stitch before trusting it on a full design.
Per Superior Threads’ guide to eliminating bird nests, loose top tension causes the same problem from the other direction, letting the bobbin thread dominate the stitch and pull up underneath the fabric instead of locking cleanly.
Rethread the Top Every Time You Suspect a Problem
Skipping the take-up lever is an easy mistake to make when you’re rushing to get a machine back up after a color change, and it’s one of the fastest ways to end up with a nest instead of a clean stitch. We rethread the entire top path from spool to needle rather than guessing which point was missed, since a partial rethread often leaves the real problem in place.
We’ve learned it’s faster to rethread completely than to chase a guess through four or five thread guides one at a time.
Check the Bobbin Case and Hook Area Before You Blame the Thread
A clean hook area matters as much as tension does. Per Ricoma’s rundown of common bird nest causes, a bobbin that’s wound incorrectly or seated the wrong way in the case snags against the hook on every rotation, and built-up lint around that same area causes the same tangling.
We keep a small brush at every station specifically for this, and a thirty-second clean-out before a run starts saves far more time than digging thread out from under a finished design later.
Don’t Overlook a Loose Hoop
Nesting doesn’t always start at the machine head. Fabric that isn’t hooped tight enough bounces slightly with every needle pass, a movement called flagging, and that small amount of give is often enough to keep the thread from catching cleanly at the hook. Caps and other curved pieces show this problem more than flat goods do, since there’s less surface area holding everything steady.
We double-check hoop tension on anything curved or oddly shaped before we ever touch the tension dial, since a nest that looks like a threading problem sometimes turns out to be a hooping problem instead.
A Clean Setup Run Saves the Whole Batch
Bobbin tension checks, a full upper thread path rethread, and a quick look at the hook area cover almost every case of nesting we run into on setup. Getting all three right before the first stitch keeps a whole batch moving instead of stopping every few minutes to dig out tangled thread.
Starting from properly built embroidery digitizing files also takes one more variable off the table, since underlay and density that match the fabric reduce the strain on both threads. Contact us at Affordable Digitizing if a design keeps nesting no matter what you check first, and we’ll help you track down what’s actually going wrong.